A picture isn’t just worth a thousand words—it could be worth thousands of dollars. As potential buyers increasingly begin their property search online, the importance of high-quality, compelling real estate photography cannot be overstated. Whether you’re a budding photographer looking to break into the field or a seasoned professional aiming to refine your craft, mastering the art and science of real estate photography is crucial for success.
This comprehensive guide will explore proven strategies for effective real estate photography, covering everything from essential tips for beginners to advanced techniques and business strategies. By combining technical expertise with artistic vision and business acumen, you’ll be well-equipped to capture stunning images that showcase properties at their best and drive your real estate photography business forward.
11 Real Estate Photography Tips for Beginners
If you’re just starting in real estate photography, these essential tips will help you lay a solid foundation for your craft:
- Plan and Prepare Ahead: Before the shoot, communicate with your client to understand their expectations and the property’s key features. Scout the location if possible, and create a shot list to ensure you capture all necessary angles.
- Opt for a Full-Frame Camera: While not absolutely necessary, a full-frame camera offers superior image quality and better performance in low-light situations, which are common in interior photography.
- A Tripod – A Necessary Piece of Gear: A sturdy tripod is indispensable for achieving sharp images, especially in low-light conditions or when shooting HDR brackets.
- The Benefits of Polarizing Filters: Polarizing filters can help reduce glare and reflections, particularly useful for shooting exteriors or interiors with large windows.
- Check the Weather Before Hand: For exterior shots, weather conditions can make or break your shoot. Always check the forecast and be prepared to reschedule if necessary.
- What’s the Best Time to Shoot?: The golden hour—just after sunrise or before sunset—often provides the most flattering light for exteriors. For interiors, midday light can be harsh, so consider shooting when the sun isn’t directly shining into the property.
- Let in the Light!: Natural light is your friend in real estate photography. Open curtains and blinds to illuminate interiors, but be mindful of harsh shadows or blown-out windows.
- Experiment with Interior Lighting: Don’t be afraid to use a property’s built-in lighting to create ambiance. Turn on lamps and overhead lights to add warmth to your shots.
- You’ll Need a Flash: While natural light is preferable, a flash (preferably off-camera) can help fill in shadows and balance exposure in tricky lighting situations.
- Adjust Your Camera Settings: Shoot in RAW for maximum flexibility in post-processing. Use a small aperture (f/8 to f/11) for a wide depth of field, and keep your ISO as low as possible to minimize noise.
- Keep Your Lines Straight: Vertical lines should be vertical, and horizontal lines should be horizontal. Use your camera’s built-in level or grid, or correct in post-processing to ensure your images look professional.
What Is Real Estate Photography?
Real estate photography is the art of capturing properties in their best light to attract potential buyers or renters. It goes beyond simply documenting a space; it’s about creating an emotional connection and helping viewers envision themselves living or working in the property.
Effective real estate photography requires a unique blend of technical skill, artistic vision, and an understanding of what sells in the real estate market. It involves mastering composition, lighting, and post-processing techniques specific to architectural and interior spaces.
Our Guide to Take Real Estate Photos
When approaching a real estate photography assignment, consider the following:
- Showcase the property’s best features and unique selling points
- Capture a variety of angles and perspectives to give a comprehensive view of the space
- Pay attention to details that create a sense of lifestyle and ambiance
- Ensure your images accurately represent the property to avoid misleading potential buyers
Remember, your goal is to create images that not only document the property but also tell its story and highlight its potential.
Composition and Lighting
Mastering composition and lighting is crucial for creating compelling real estate photographs. These elements work together to guide the viewer’s eye and create a sense of space and atmosphere.
Lighting
Lighting can make or break a real estate photograph. Here are some key considerations:
- Natural light: Whenever possible, use natural light to illuminate interiors. It creates a warm, inviting atmosphere and accurately represents the space.
- Artificial light: Use the property’s built-in lighting to add warmth and define spaces. Be cautious of mixed color temperatures, which can create an unnatural look.
- Flash: Use flash judiciously to fill in shadows and balance exposure. Off-camera flash with diffusers can provide more natural-looking results than on-camera flash.
Shoot at Twilight
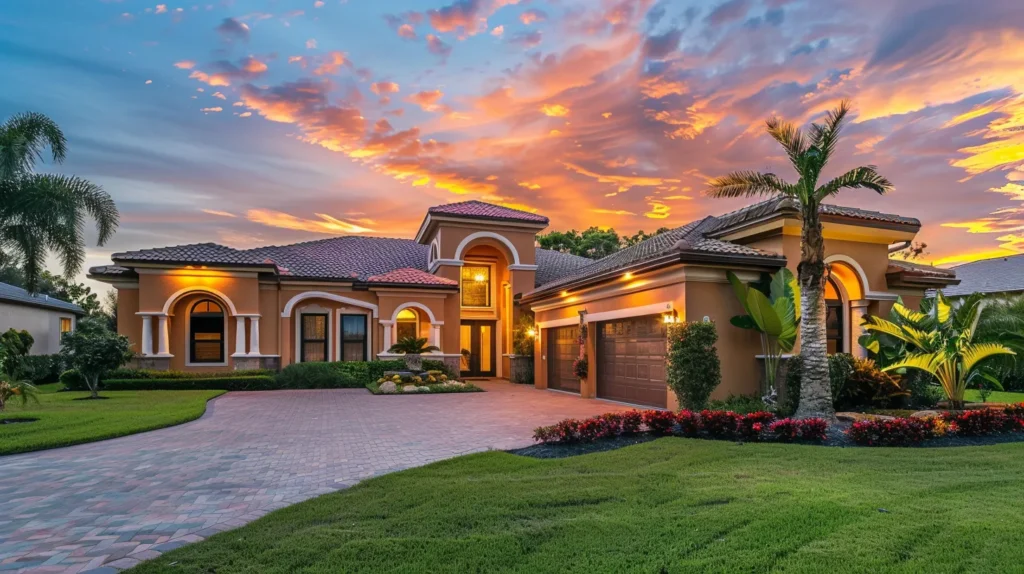
Twilight shots can add a touch of magic to your real estate photography portfolio. The soft, warm light just after sunset can make a property look incredibly inviting. To capture stunning twilight shots:
- Time your shoot carefully: The ideal window for twilight photography is brief, usually about 15-20 minutes after sunset.
- Balance interior and exterior lighting: Turn on all interior lights to create a warm glow from within the property.
- Use a tripod and longer exposures: As light levels drop, you’ll need to use slower shutter speeds to capture enough light.
Real Estate Photography Niches
As you develop your skills, you might choose to specialize in specific niches within real estate photography. Each niche has its own unique considerations:
Interiors
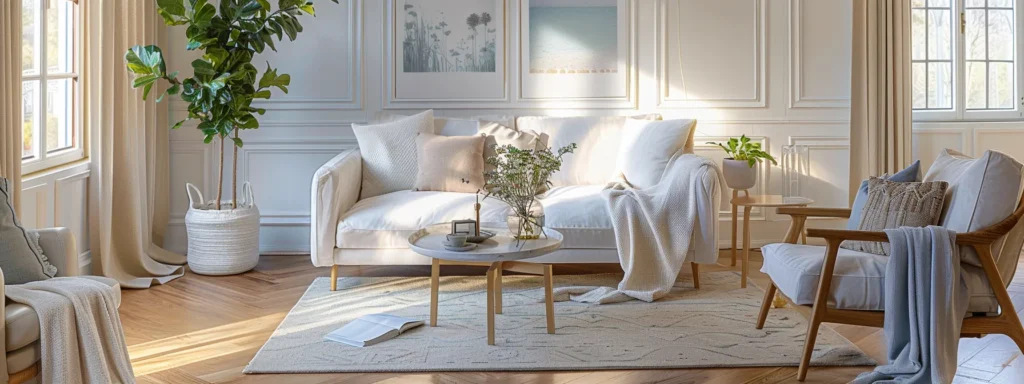
Interior photography focuses on showcasing the living spaces within a property. Key considerations include:
- Wide-angle lenses to capture more of the room in a single frame
- Careful composition to create a sense of flow between spaces
- Attention to detail in styling and arrangement of furnishings
Airbnb
Airbnb photography aims to make spaces look inviting and homely. Consider:
- Capturing details that make the space unique or memorable
- Showcasing amenities and features that are important to travelers
- Creating images that help potential guests envision their stay
Hotels
Hotel photography requires a balance between showcasing the property’s features and creating an aspirational lifestyle image. Focus on:
- Capturing the unique character and style of the hotel
- Highlighting amenities such as pools, spas, and dining areas
- Creating images that evoke a sense of luxury and escape
Techniques
To take your real estate photography to the next level, consider mastering these advanced techniques:
HDR
High Dynamic Range (HDR) photography involves blending multiple exposures to capture a wider range of light than a single exposure can achieve. This technique is particularly useful for interiors with bright windows or exteriors with deep shadows. When using HDR:
- Shoot a series of bracketed exposures, usually 3-5 shots at different exposure levels
- Use software to blend the exposures, aiming for a natural, balanced look
- Be cautious of over-processing, which can lead to unrealistic results
Drone
Drone photography can provide unique perspectives and showcase a property’s location and surroundings. When incorporating drone photography:
- Ensure you comply with local regulations and obtain necessary permits
- Use drone footage to highlight features like large plots of land, proximity to amenities, or scenic views
- Combine aerial shots with ground-level photography for a comprehensive property showcase
Real Estate Photography Gear
Investing in the right equipment is crucial for producing high-quality real estate photographs. Here’s a guide to essential gear:
Best Cameras
For real estate photography, look for cameras with:
- High resolution (at least 20MP) for detailed images
- Good low-light performance
- Wide dynamic range to handle high-contrast scenes
Top picks include the Canon EOS 5D Mark IV, Nikon D850, and Sony A7R IV.
Best Lenses
A wide-angle lens is essential for real estate photography. Consider:
- 16-35mm range for full-frame cameras
- 10-22mm range for crop-sensor cameras
- Rectilinear lenses to minimize distortion
Canon Lenses
For Canon shooters, consider:
- Canon EF 16-35mm f/4L IS USM
- Canon EF 17-40mm f/4L USM
Nikon Lenses
Nikon users might opt for:
- Nikon AF-S 14-24mm f/2.8G ED
- Nikon AF-S 16-35mm f/4G ED VR
Sony Lenses
Sony mirrorless camera users can consider:
- Sony FE 16-35mm f/2.8 GM
- Sony FE 12-24mm f/4 G
Real Estate Photography Business
Turning your photography skills into a successful business requires more than just technical expertise. Consider these aspects:
How to Start a Business
- Develop a business plan outlining your services, target market, and financial projections
- Register your business and obtain necessary licenses and insurance
- Create a portfolio website to showcase your work
- Network with real estate agents, property managers, and developers
How to Make Money
- Offer a range of services, from basic shoots to premium packages including drone footage and virtual tours
- Consider offering additional services like photo editing or virtual staging
- Build relationships with repeat clients for consistent income
Property Release Form
Always use a property release form to protect yourself legally. This form should:
- Grant you permission to photograph the property
- Specify how the images can be used (e.g., for marketing the property, for your portfolio)
- Be signed by the property owner or their authorized representative
Marketing Techniques
- Leverage social media to showcase your work and attract clients
- Offer special promotions to new real estate agents or agencies
- Create valuable content (like photography tips) to establish yourself as an expert in the field
Contract Ideas
Your contracts should clearly outline:
- The scope of work (number of photos, types of shots, etc.)
- Pricing and payment terms
- Delivery timeline
- Usage rights for the images
Pricing
Consider factors like:
- Your experience and skill level
- The size and value of the property
- Additional services (like drone photography or virtual tours)
- Your local market and competition
Offer tiered pricing packages to cater to different client needs and budgets.
Popular Content
Focus on creating content that resonates with your target audience:
- Before-and-after comparisons showing the impact of professional photography
- Tips for preparing a property for a photo shoot
- Behind-the-scenes content showing your process
Conclusion
Mastering real estate photography is a journey that combines technical skill, artistic vision, and business acumen. By implementing these proven strategies—from mastering composition and lighting to leveraging advanced techniques like HDR and drone photography—you’ll be well-equipped to create stunning images that showcase properties at their best.
Remember, the key to success in real estate photography lies not just in capturing beautiful images, but in consistently delivering value to your clients. Stay curious, keep learning, and always strive to improve your craft. With dedication and practice, you can build a thriving real estate photography business that stands out in this competitive field.
Whether you’re shooting a cozy studio apartment or a luxurious mansion, the principles remain the same: highlight the property’s best features, create an emotional connection with potential buyers, and tell the unique story of each space through your lens. Happy shooting!


